How to share your Workspaces
Control who has access to your spaces and collaborate with ease.
Overview
Access control helps organizations protect sensitive data, maintain confidentiality, prevent unauthorized modifications or deletions, and ensure compliance with regulatory requirements. It also enables efficient collaboration by allowing the right people to access and work on the resources they need while keeping others out.
Use Access Controls on Houseware to decide whether others can view/edit your Workspace.
Let's see how it works! ⚙️
What are the different types of access you can give?
Once you've created a Workspace, you are declared its Owner. You have the ability to add another user as a Viewer or Editor. By default, only you have access to your created Workspace. You can add particular users or even update access at the level of the organization, as you will see ahead.
The following table shows you the kind of access each type mentioned above has:
| Owner | Editor | Viewer | Restricted | |
|---|---|---|---|---|
| Delete Workspace | ✅ | ❌ | ❌ | ❌ |
| Create Blocks | ✅ | ✅ | ❌ | ❌ |
| Edit Blocks | ✅ | ✅ | ❌ | ❌ |
| View Blocks | ✅ | ✅ | ✅ | ❌ |
| Delete Blocks | ✅ | ✅ | ❌ | ❌ |
| Rearrange Blocks | ✅ | ✅ | ❌ | ❌ |
| Update User Access | ✅ | ✅ | ❌ | ❌ |
| Clone | ✅ | ✅ | ❌ | ❌ |
| Comment | ✅ | ✅ | ❌ | ❌ |
| Add to Favorites | ✅ | ✅ | ✅ | ❌ |
Note:Someone having access to a workspace does not automatically have access to all the Workspaces within. That has to be updated manually.
How to update access to your Workspace
Step 1: Click on the "Share" button in your Workspace
You can find this button in the top right in any Workspace.
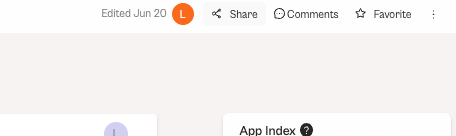
Click on Share in the top right
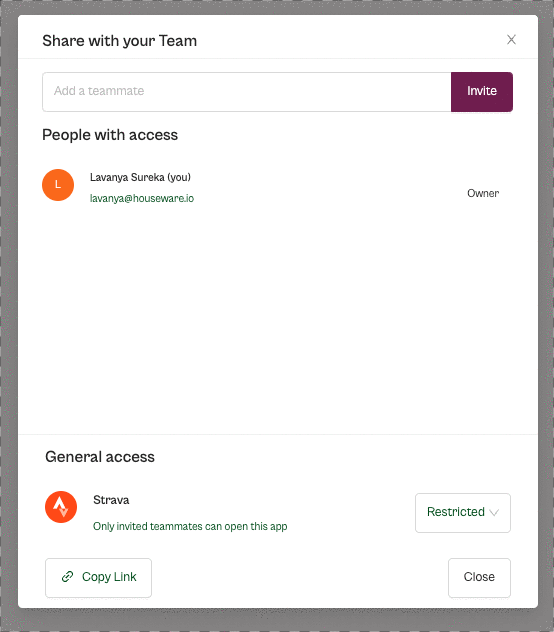
Step 2: Configure access
The window below pops up after clicking on the "Share button".
The access shown here is what is the default before you configure.

Default Configuration
Note:You can grant access in 2 ways — General access, Adding particular people.
General Access
In general access, you can update all the users in your organization as Viewers, Editors, or Restricted. Click on the drop-down next to the org to change access.
Configuring General Access
Adding people
To add people, enter their email ID of then click on the "Invite" button. They are by default added as "Viewers". You can update it to "Editor" if you want, as can be seen below.
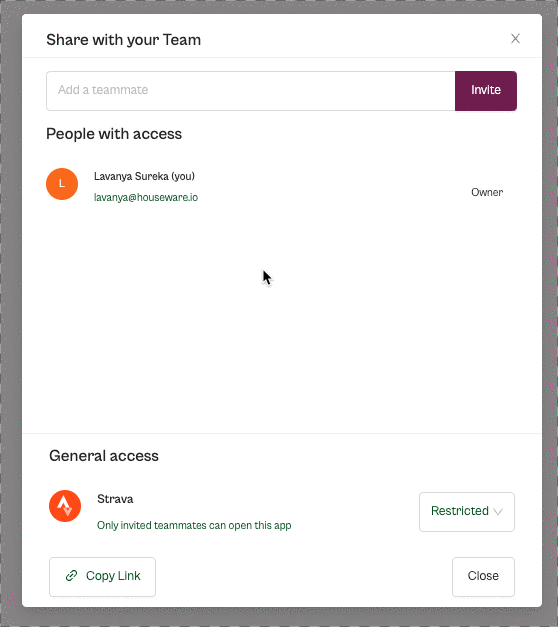
Adding people
Note:In the case of Workspaces inside Workspaces, if the person does not have access to the parent Workspace, they can reach the nested Workspace through the "Shared Workspaces" section on the Workspaces page.
Remove people
Remove people by clicking on the delete icon next to the access given to them.

Removing people
Onto easier collaboration! 💪
Updated over 1 year ago